Have you ever opened up an old Photoshop File or an Edit from the past only to find stacks of messy layers in the Layers Panel and not have a clue what they are for? Sure you can go through each layer one by one to try piece together your past workflow, but that’s just a waste of time.
Instead, I recommend adopting this little ‘good’ habit. It literally only takes a couple of extra seconds to do every time you create a New Layer.
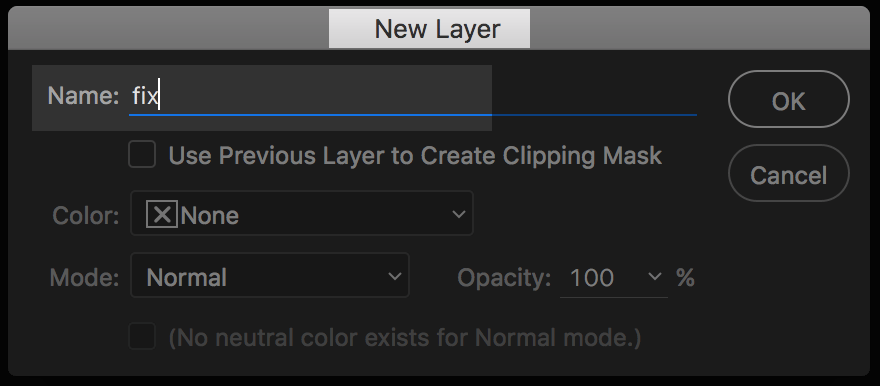
Name the layer to something appropriate. (Adopt a naming convention that works for you. Some examples below.)
- T1 (touchup 1)
- T2 (touchup 2)
- touchup
- Sky Fix
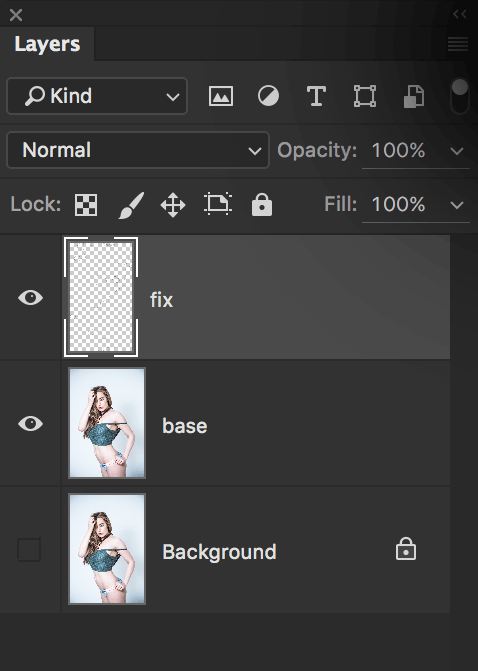
- fix
- Lips Brighten
- skinsmooth

Other Naming Options
There are obviously several other ways to name and rename layers, I just find the above method works well for my current work flow process.
Some of the other ways include just Double Clicking on the Layers Name and then typing in what is required.
You can also create a New Layer using Keyboard Shortcuts (see below) and when the New Layer Dialog Box pops up, enter in the New Layers name.
What about Keyboard Shortcuts
This is a very viable option, and I do also use this on the odd occasion, to create and name a new layer.
Apple: CMD + SHIFT + N
PC: CTRL + SHIFT + N
Renaming layers later
As mentioned above, this is also another way of doing it. Double click on the Layer Name in the Layers Panel and type in the new name.
However make sure that you actually do it before closing down and saving your project. Otherwise you could forget to rename the layers, and it may never get done.
This is just another reason why I prefer the ALT + CLICK method (or Keyboard Shortcut), it forces you to name the layer right away.
What naming standards do you use
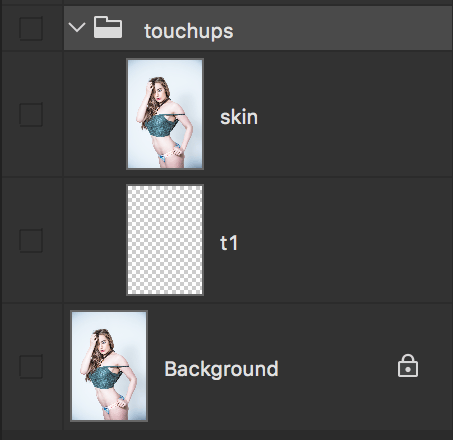
I’ve chosen the lowercase letter + number approach.
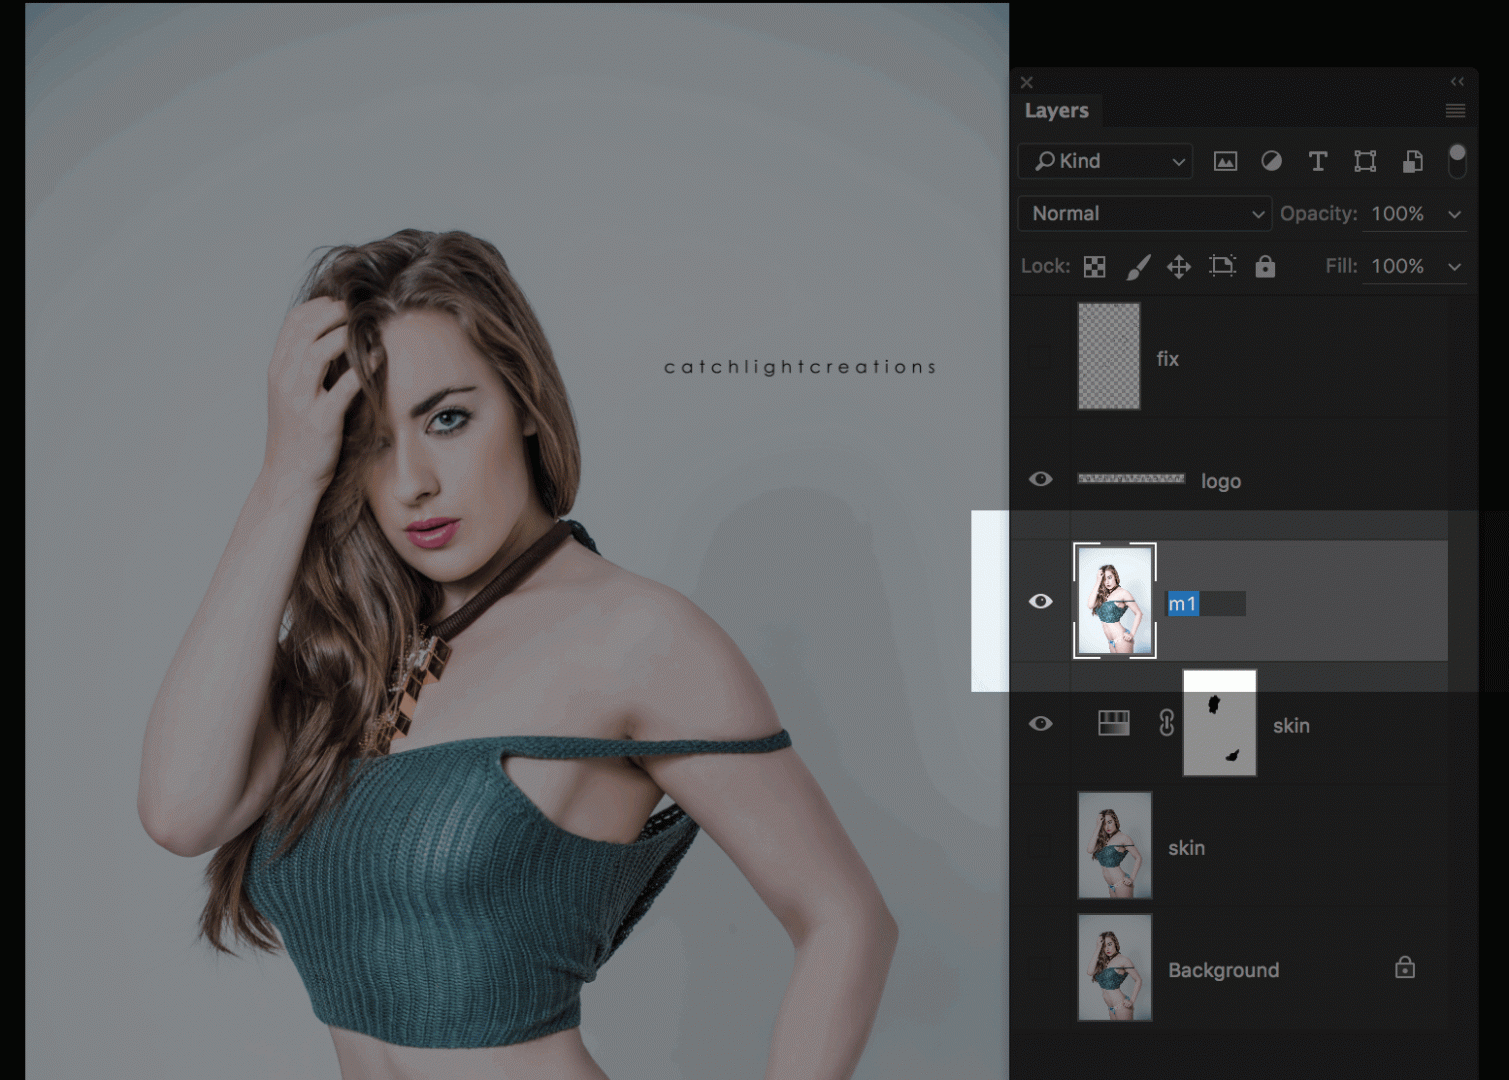
For my TouchUp Layers I’ll use t1, t2, t3 etc Then for my Merged Layers it’ll be m1, m2, m3 etc. All other layers and groups will be done by double clicking and renaming them. Some of the names I use most often are fix, skin, hair, bg and skin tone.
TIP:
Different kinds of touchups should each be done on their own New Layer.
- Spot Healing? t1 – New Layer
- Airbrush? t2 – New Layer
- Liquify? m1 – Merged New Layer
What are groups
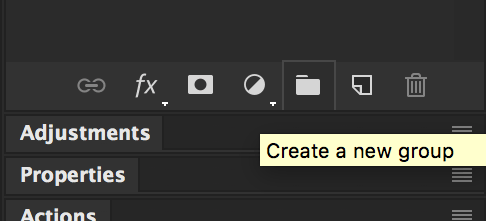
Another little handy thing that I have gotten into the habit of doing, is adding all layers that are no longer used, into their own Group. (Some people will delete unused layers, but I always tend to keep mine)
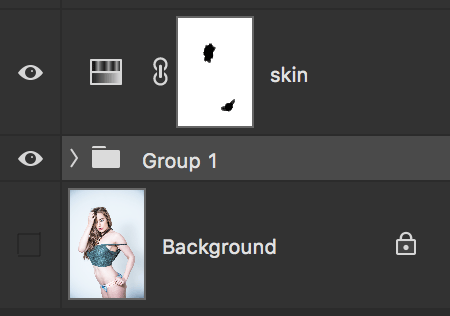
To create a New Group, simply select all the layers you have created or are finished using, then press CMD + G (Mac) Ctrl + G (PC) This will create a New Group. Now you can double click the New Group to rename it. Touchups, Adjustments or whatever best suits you.
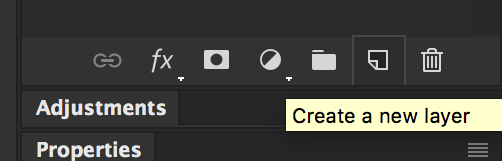
Fix Layer
What is a fix layer? A fix layer is exactly what it sounds like. It’s a New Layer that you create on top of the image to be edited, and then using your mouse or preferably a Graphics Tablet, mark/write down things that you feel need to be fixed in the image.
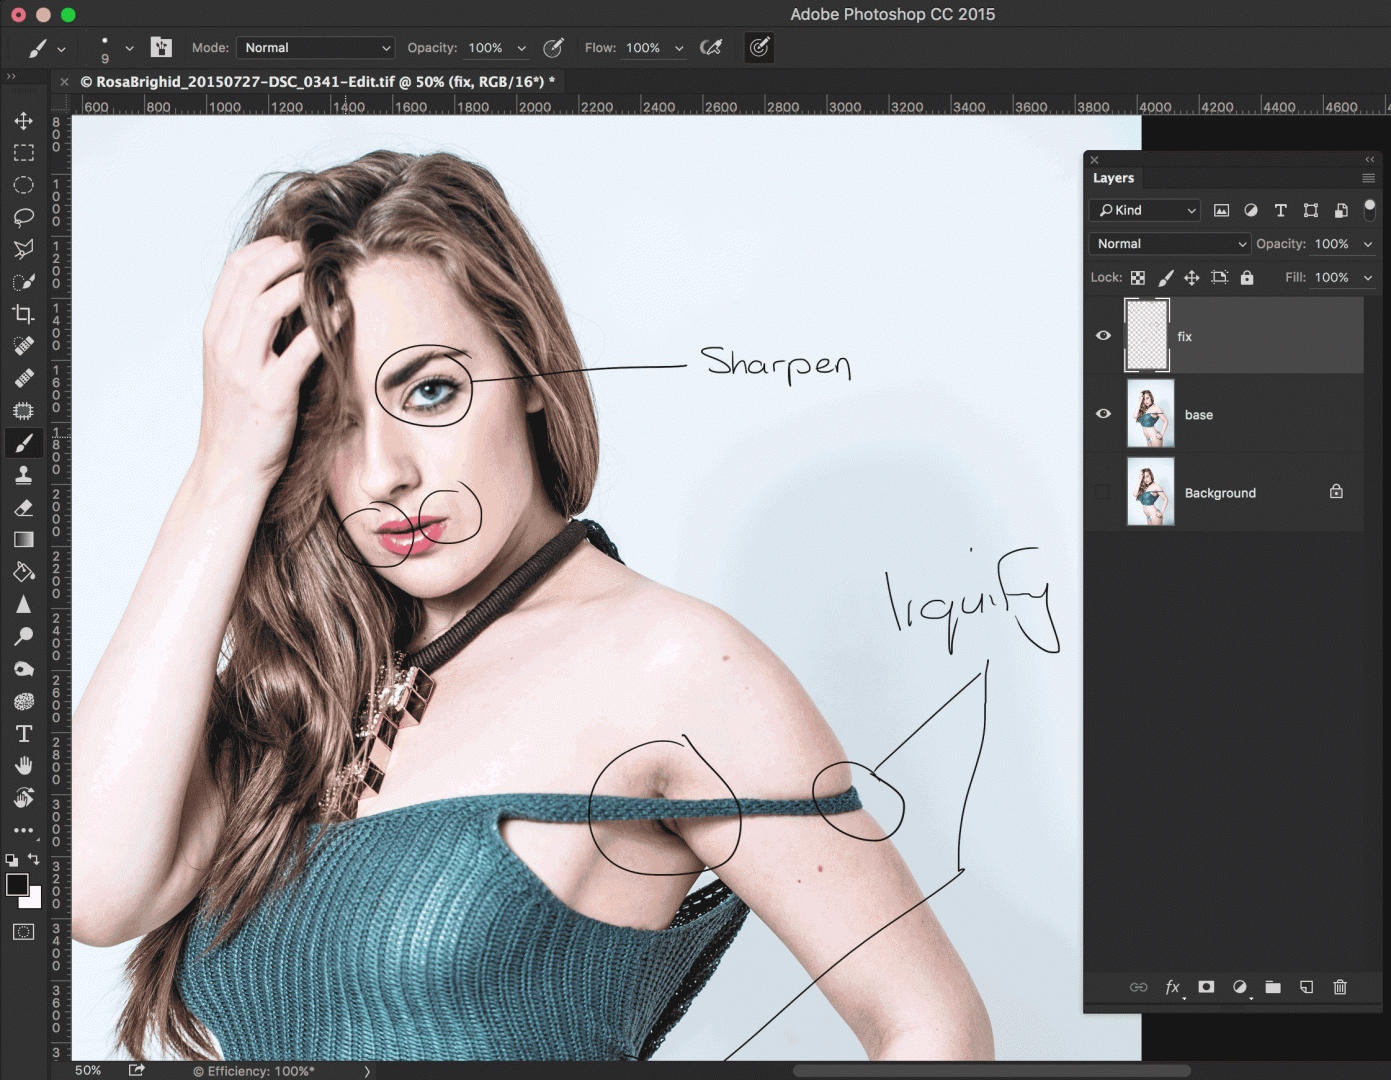
Then you can turn the layers visibility off, by clicking on the eye icon next to the layer. Periodically, you can turn the fix layer back on to see if you have forgotten anything to touchup or repair.
Simple as that.
If you enjoyed this simple tutorial please leave a comment below. If you did not, or I got something wrong, please feel free to also leave a comment below.
Leave a Reply